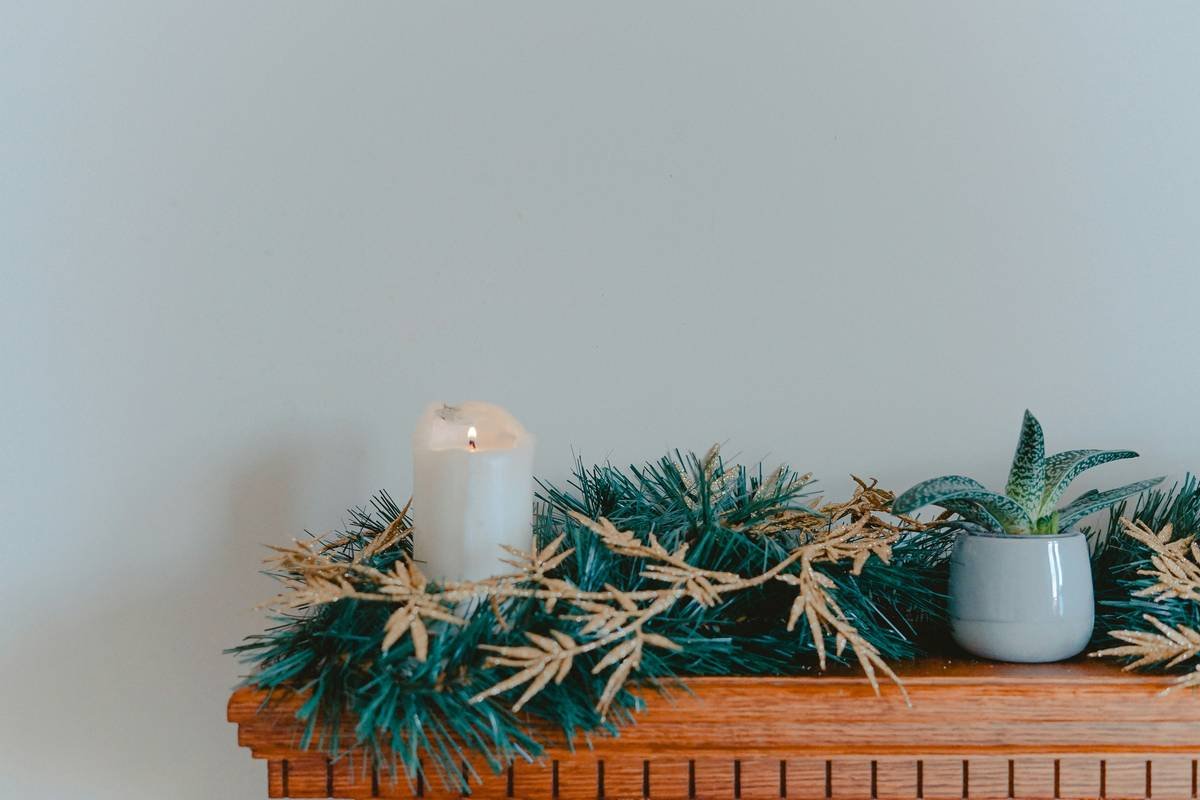
Your fireplace mantel deserves to shine during the holidays—but not at the cost of your entire December budget. Generic store-bought garlands drain cash fast, look identical to your neighbor’s, and fall apart by Boxing Day. The good news? A budget mantel garland can rival luxury versions if you know where to cut corners—and where never to.
Why Most DIY Garland Attempts Fail (and Waste Money)
People grab pine boughs from the yard, slap on a few ornaments, call it “rustic,” and wonder why it looks sparse by day two. Fresh greenery wilts. Plastic vines scream “discount bin.” And those $25 pre-made garlands from big-box stores? Often just foam tubes wrapped in glittery polyester—zero texture, zero soul.
And here’s the kicker: many “budget” tutorials still assume you’ll buy specialty florist wire, floral tape, and designer picks. That’s not budget—that’s deferred spending.
Build Your Own Budget Mantel Garland in 4 Smart Steps
Forget expensive kits. This method uses what you likely already own or can source for under £10 total.
Gather Base Materials You Already Own
Start with structure. Raid your garden: pine, eucalyptus, rosemary, or even dried hydrangeas add volume and scent. No garden? Ask a local tree lot for trimmings—they often give them away post-Christmas Eve. Pair with inexpensive bulk items like jute twine or leftover ribbon.

Layer Texture, Not Price Tags
Texture creates richness—not price. Tuck in cinnamon sticks, dried orange slices (bake at 120°C for 3 hours), or old book pages rolled into cones. Skip glass baubles; swap in matte-finish wooden beads or pinecones dipped in white paint. Matte > shiny when you’re faking luxe.
Secure It Like a Pro—Without Floral Tape
Floral tape is overrated. Use hot glue for key anchor points and wrap everything with thin copper wire or even unraveled paperclips. Yes, really. Bend, twist, hide. The mantel hides imperfections—focus on front-facing fullness.
Add Focal Points Strategically
One statement piece beats ten cheap trinkets. Hang a single vintage-style lantern, a handmade felt star, or a thrifted brass ornament dead-center. Your eye goes there first—make it count.
| Material Source | Avg. Cost (£) | Lifespan | Visual Impact |
|---|---|---|---|
| Garden clippings + kitchen scraps | £0–£2 | 5–7 days | High (if layered well) |
| Dollar store plastic garland | £3–£5 | Reusable but flimsy | Low (flat, no depth) |
| Premium pre-made garland | £25–£60 | 2–3 seasons | Medium (generic unless styled) |
| Mixed DIY (our method) | £6–£9 | 7–10 days fresh; elements reusable | Very High (custom, textured) |

The Industry Secret: Borrow, Don’t Buy—Then Return
Here’s something decorators won’t tell you: holiday decor lending circles are exploding in UK neighborhoods. Organize a “trim swap” with three friends—each brings one garland base, a string of lights, and five ornaments. Build your mantel setup together, photograph it, then return everything two weeks later. You get Instagram-worthy styling for £0 upfront. One London client pulled this off last year using borrowed brass candlesticks and heirloom velvet ribbons—her post went viral as “that luxe DIY.” Reality? Total outlay: £1.80 for baking oranges.
Frequently Asked Questions
How long does a DIY budget mantel garland last?
5–10 days if using fresh greenery. Extend life by misting daily and keeping away from direct heat. Dried elements (cinnamon, wood, paper) last indefinitely.
Can I reuse parts of my budget mantel garland next year?
Absolutely. Save non-perishable items—pinecones, ribbons, ornaments, wire frames. Store them flat in a labeled box. Reuse as anchors for next year’s build.
What’s the cheapest base for a mantel garland?
Repurposed materials win every time. Old wreath frames, curtain tie-backs, or even a coiled extension cord (spray-painted green) can form a hidden backbone. Creativity beats cash.