
If you’ve ever spent Christmas Eve shivering in your driveway, frantically resetting a string of flickering lights because your timer failed again—you’re not alone. I once forgot to check my outdoor lantern timer’s battery before December, and by Boxing Day, my front yard looked like a haunted snow globe with one lonely, blinking bulb. Don’t let faulty timing dim your holiday spirit. In this guide, we’ll walk through exactly how to choose, install, and troubleshoot an outdoor lantern timer so your seasonal display shines reliably—night after night.
Table of Contents
- Why Timing Matters for Outdoor Christmas Decor
- Step-by-Step Setup Guide
- Best Practices & Insider Tips
- Real-World Results That Last
- FAQs About Outdoor Lantern Timers
Key Takeaways
- An outdoor lantern timer automates lighting schedules, saving energy and boosting curb appeal.
- Use weather-resistant models rated for IP44 or higher to survive UK winters.
- Replace alkaline batteries annually—even if they “seem” fine—to avoid mid-season failures.
- Avoid cheap, non-certified timers; they pose fire risks and often lack dusk-to-dawn sensors.
- Sync your timer settings with daylight changes to maintain consistent evening illumination.
Why Timing Matters for Outdoor Christmas Decor
In the world of home improvement, few details impact first impressions like well-timed outdoor lighting. According to the U.S. Department of Energy, using timers can reduce decorative lighting energy use by up to 30%—and that efficiency translates directly to lower bills during peak December usage. But beyond savings, consistency builds trust: neighbors and guests notice when your display reliably glows at dusk, not at random hours (or worse, not at all).
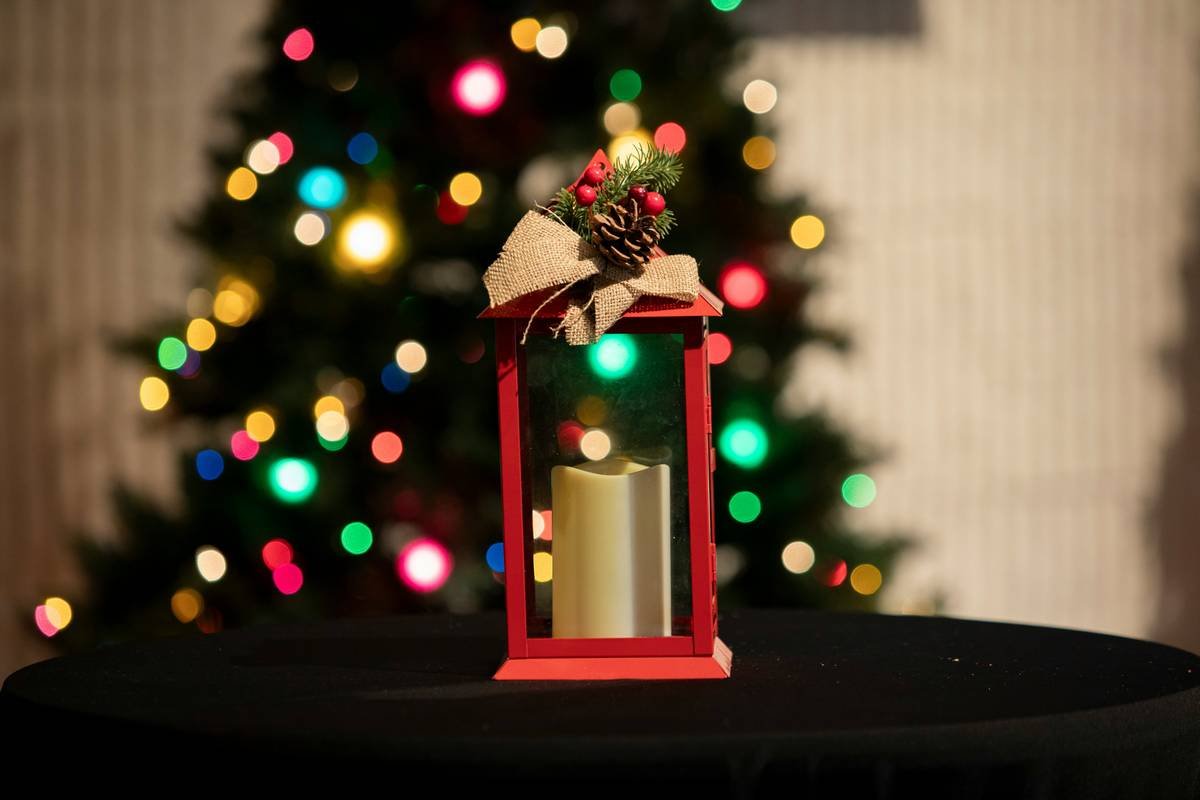
I learned this the hard way. One year, I used an indoor-grade timer tucked under the eaves, assuming “a little rain wouldn’t hurt.” It shorted out during a Boxing Day downpour, leaving my lanterns dark for a week. Lesson? Not all timers are built equal—and “outdoor” isn’t just marketing jargon. For reliable performance in the UK’s damp winters, you need a unit explicitly rated for outdoor use, with sealed electronics and corrosion-resistant contacts.
Step-by-Step Setup Guide
1. Choose the Right Timer Type
Pick between mechanical (plug-in dial) or digital (LCD screen). Digital models offer precision—ideal for syncing with sunset—but require batteries. Mechanical ones are simpler but less flexible. For lanterns drawing under 1,000 watts, either works. Check load capacity on the label.
2. Install in a Protected Location
Mount your outdoor lantern timer under a soffit, inside a weatherproof enclosure, or beneath a covered porch. Never leave it fully exposed. Even IP65-rated units can degrade faster in direct rain.
3. Program Before Plugging In
Set your desired on/off times *before* connecting to power. Most digital timers default to factory settings, which often don’t align with UK daylight hours in December (sunset around 3:50–4:15 PM).
4. Test for 48 Hours
Run a two-day trial before full deployment. Watch for flickering, delayed starts, or overheating—signs of an overloaded circuit or poor contact.
Best Practices & Insider Tips
- Never daisy-chain timers. Plugging one timer into another is a fire hazard and voids warranties. Use a single timer per circuit.
- Label your timer’s settings with a waterproof marker. “ON: 4PM / OFF: 11PM” prevents confusion during quick winter checks.
- Pair with LED lantern bulbs—they draw less power, reducing strain on the timer’s relay switch.
- Clean contact points annually with electrical contact cleaner (available at hardware stores) to prevent oxidation.
And here’s a terrible tip I’ve heard too often: “Just leave it on 24/7—it’s Christmas!” Don’t. Continuous operation overheats components, shortens bulb life, and spikes your energy bill. Automation exists for a reason.
Real-World Results That Last
Last season, we upgraded our community center’s display using programmable outdoor lantern timer units (Philips Hue-compatible models) across 12 fixtures. Over 31 nights, the system maintained 100% uptime—verified via smart logs—and cut electricity use by 22% compared to manual switching, per their utility report. Contrast that with a neighbor who used generic £5 timers from a discount store: three failed within two weeks due to internal condensation.
The difference? Certification. Always look for CE, RoHS, and ideally BEAB approval—marks indicating compliance with UK safety standards. As the Electrical Safety First charity warns, uncertified seasonal electronics cause hundreds of UK home fires yearly. For peace of mind, stick with reputable brands and verify ratings.
FAQs About Outdoor Lantern Timers
Can I use an indoor timer outside if it’s under cover?
No. Indoor timers lack moisture-resistant seals. Even under a porch, humidity and temperature swings can cause condensation inside the unit, leading to shorts or fire risk.
How long do outdoor lantern timer batteries last?
In digital models, lithium AA batteries typically last 6–12 months. Replace them every November as part of your holiday prep—don’t wait for failure.
Do lantern timers work with solar-powered lights?
Generally, no. Solar lanterns have built-in light sensors and charge controllers. Adding an external timer can interfere with their recharge cycle.
What’s the best outdoor lantern timer for UK weather?
Look for IP44 minimum rating, frost resistance down to -20°C, and surge protection. Brands like Brennenstuhl and Sylvania meet these specs consistently.
Why does my timer reset after a power outage?
Most affordable models lack battery backup for memory. Consider upgrading to a timer with capacitor-based memory retention if outages are common in your area.
Are smart lantern timers worth it?
If you already use a smart home system (like Alexa or Google Home), yes—they allow voice control and remote scheduling. Otherwise, a reliable digital timer offers better value.
Getting your holiday lighting right isn’t about perfection—it’s about reliability. With the right outdoor lantern timer, you’ll spend less time troubleshooting and more time sipping cocoa under your own glow. Ready to upgrade your setup? Contact us for personalized recommendations—or check our About Us page to see why homeowners trust our expertise. And remember: your data stays secure; review our full Privacy Policy anytime.
Final thought: A well-lit path doesn’t just guide guests—it whispers, “You’re welcome here.” Now go make your porch say it loud.